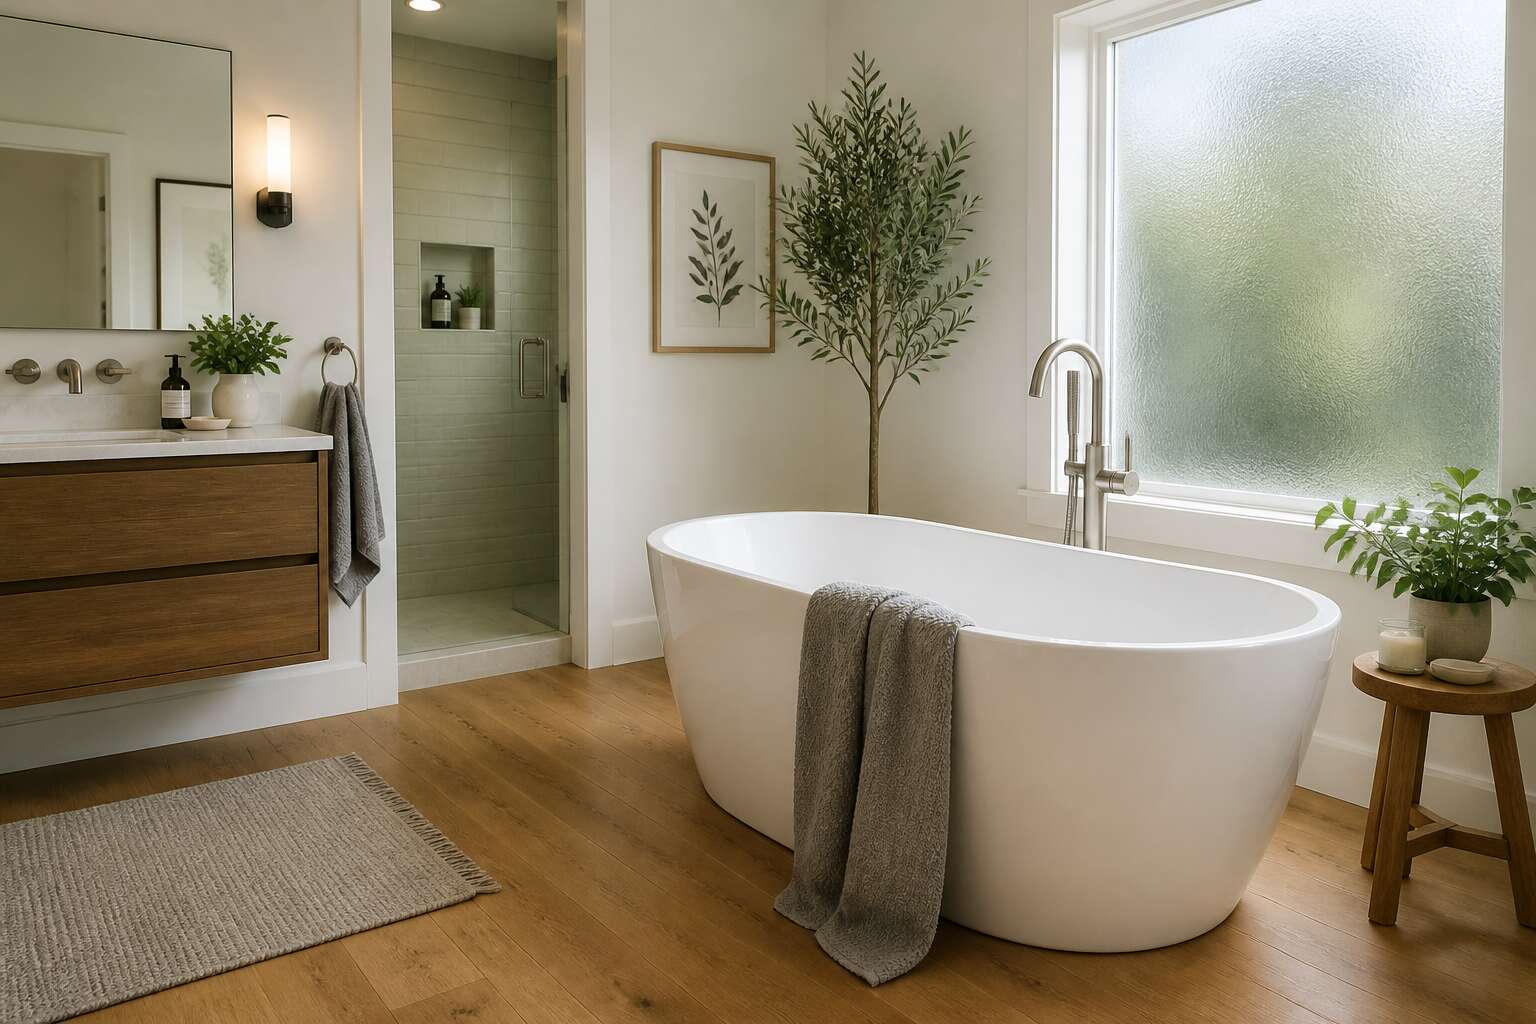
Assessing the Feasibility of Wood in Wet Areas
Understanding Moisture Risks
South Africa’s coastal humidity regularly exceeds 80% in summer, a fact that changes how we appraise the notion of a wooden floor on bathroom spaces. Feasibility demands honest assessment. I’ll put it plainly: solid timber swells and shrinks with moisture, while engineered layers offer better dimensional stability. Yet both face daily contact with standing water.
Moisture risks are specific. Water pools around bathtubs, seeps under baseboards, and lingers in grout lines. The typical failure points:
– Cupping and warping from absorbed moisture
– Dark staining after prolonged exposure
– Fungal growth in microcrevices
Even a small leak can erode the finish over time. This material demands constant vigiance, not optimism.
Types of Wood That Can Withstand Humidity
A wooden floor on bathroom requires careful species selection. Ipe, teak, and African mahogany have dense grain structures that resist water intrusion better than softwoods. For engineered alternatives, choose a plywood core with a thick hardwood veneer. The following woods tolerate South Africa’s coastal humidity:
- Ipe, with natural oils that repel moisture
- Teak, which swells less than most timber
- Cumaru, valued for its compressive strength
Each type demands sealed edges and a breathable finish. The result is a surface that endures the intersection of water and warmth. Choosing wisely transforms a risky zone into a distinctive feature.
Alternative Looks: Wood-Look Tile vs. Real Wood
Assessing the feasibility of installing a wooden floor on bathroom spaces starts with a hard look at humidity. Real wood responds like a living thing, expanding and contracting with each coastal breath. Wood look tile stands permanently still.
That stillness is a decisive advantage. For South African homes, the choice often comes down to atmosphere versus indifference. Real wood ages, gaining history and patina. Tile stays pristine, defying every splash and steam cloud.
Think about maintenance through the years:
- Real wood rewards refinishing after decades of wear
- Wood look tile needs only periodic grout care
The alternative provides impartial durability, minus the romance.
Key Factors to Consider Before Installation
Bathroom Ventilation and Airflow
When my team installs a wooden floor on bathroom surfaces, we treat airflow as a measurable requirement. Poor ventilation forces moisture into the wood grain. Before a single plank is laid, assess the room’s ventilation rate and condensation patterns.
- Check the extractor fan’s capacity against the room’s cubic volume
- Position vents to create a cross breeze from door to window
- Test humidity levels during a typical morning routine
Without this groundwork, even high grade wood will struggle. The fan should activate before steam rises, and it should run for at least fifteen minutes after use. In South African homes, where coastal humidity meets inland temperature swings, this becomes a daily negotiation. A wooden floor on bathroom spaces thrives when air moves, not stagnates, around it.
Sealing and Waterproofing Techniques
Before laying a wooden floor on bathroom surfaces, the subfloor must be checked for levelness and residual moisture. A concrete slab can wick moisture upward for years after construction. If the moisture meter reads above 12 percent, a vapour barrier is non-negotiable.
Acclimation is the next step. Keep planks in the bathroom for 72 hours so the wood adjusts to ambient conditions. This limits expansion pressure after installation.
In my experience, sealing requires more care than any other step. The first coat must be a penetrating sealer, since surface films tend to chip at the seams. Follow a strict sequence:
1. Apply penetrating sealer to all faces
2. Lightly sand after curing
3. Apply two coats of waterproof topcoat
4. Re-seal the cut edges around pipes
Every edge, including the tongue and groove, needs coverage. This approach allows a wooden floor on bathroom spaces to handle daily water exposure.
Subfloor Preparation and Leveling
Subfloor preparation separates a durable installation from a total failure. A bathroom subfloor must be flat and solid. Even a 3 millimetre deviation can cause planks to rock or click underfoot. Old adhesive and debris need removal first, and hollow spots should be checked with a tapping tool. A concrete slab often requires a self-leveling compound to correct low areas before any wood goes down.
The cure time for that compound can take up to 48 hours depending on humidity, so rushing is a mistake. The slope toward the drain also needs preservation. Leveling should fix dips without erasing that gradient. Skipping these steps leads to movement and squeaks later. The success of a wooden floor on bathroom relies on this preparation stage.
Choosing the Right Finish and Coating
A wooden floor on bathroom installations require an industrial-grade coating, not furniture polish. Key factors are water resistance and scratch tolerance. Thin coats often micro-crack, allowing moisture into the fibers.
For a wooden floor on bathroom, apply at least three coats. Polyurethane is a solid choice. Practically speaking, you have these options:
- Oil-based polyurethane, which provides a thick layer but takes 24 hours to dry.
- Moisture-cured urethane, ideal for South African humidity swings.
- Acid-cured lacquer, offering a hard shell that resists scrapes.
A lamb’s wool pad provides the ideal surface for application. Standard brushes leave bubble trails. Curing time matters! A rushed sealing job leads to peeling and water damage within a month.
Step-by-Step Installation Guide for Wooden Bathroom Floors
Installing a Waterproof Underlayment
The difference between a durable wooden floor on bathroom and a warped disaster is often measured in millimetres. The underlayment sits between your subfloor and the wood itself. It must act as a moisture barrier and provide cushioning. In South Africa’s varying climate, this step carries extra weight.
For a waterproof underlayment installation, follow these steps:
- Roll out polyethylene sheeting with 15 cm overlaps.
- Tape every seam with waterproof membrane tape.
- Cut around pipes with a utility knife.
- Leave a 5 mm gap along walls for expansion.
Press the underlayment flat as you work. Air pockets allow moisture entry. Once secured, you have assembled the core defence for your wooden floor on bathroom. The planks above rest on a clean, impermeable base that absorbs no water and transmits no dampness upward. With careful alignment and continuous seam coverage, the installation protects the wood from below.
Laying the Wood Planks: Methods and Patterns
Laying the planks transforms your surface into a finished story. After the underlayment is sealed, every board must click into place with intention. I prefer starting from the longest wall, leaving that expansion gap intact. Work in staggered rows. A random offset avoids repeating seams and strengthens the lock.
For the wooden floor on bathroom, pattern choice changes the room’s feel.
- Straight lay for a clean, linear flow
- Diagonal to add visual width
- Herringbone for a classic, detailed texture
Whatever you select, use a tapping block to protect the edges. Check each joint as you go. A slightly rotated plank today becomes a creak tomorrow.
Applying Sealant and Edging
One unsealed edge can subject the entire wooden floor on bathroom to moisture migration. Sealant application should be deliberate. I work the compound into each joint with a brush, paying attention to transitions at walls and fixtures. Edging then secures the perimeter. The sequence matters:
- Apply the first sealant coat around all boundary joints.
- Fit flexible edging strips that allow natural expansion.
- Seal every corner with a flexible caulk.
- Cure each layer completely before proceeding.
I finish by inspecting the edges under a bright light. A thin crack today invites rot tomorrow. This approach rewards diligence. Skipping edging saves minutes, but costs years of service.
Curing and Drying Time
Once the edging is set, the true test begins. Curing is not the same as drying. The surface may lose its tack in a few hours, yet the layers beneath remain vulnerable. I have seen homeowners walk on a wooden floor on bathroom within a day, only to find the sealant cracking along the joints weeks later.
Give the floor at least 72 hours without foot traffic. A full week is better before returning rugs or bath mats. South Africa’s climate varies widely, so adjust expectations in humid Durban or dry Johannesburg.
- Keep the room ventilated with an open window or fan
- Avoid running hot water or showers during the cure
- Place warning signs or barriers at the doorway
Moisture needs time to escape the wood fibres. Cutting that period short locks in dampness and sets the stage for rot.
Maintenance and Long-Term Care
Daily Cleaning Routines
Keeping a wooden floor on bathroom presentable requires a disciplined but light touch. You are not scouring a grill; you are wiping a delicate finish. Reach for a dry microfiber mop, and save wet cleaning for weekly sessions.
- Sweep or vacuum with a soft brush attachment to remove grit.
- Wipe splashes near the basin or shower using a dry cloth.
- Run a floor fan for ten minutes after any moisture event.
That sequence prevents damage because grit scratches and standing water swells. In South Africa’s variable climate, this ritual costs five minutes daily and prevents premature refinishing. Consistency beats intensity.
Dealing with Spills and Standing Water
The first spill is never the one that kills the floor. It is the second one, the one you forgot. A wooden floor on bathroom surfaces absorbs moisture with a patience that borders on sentient. That glass toppled at midnight, the puddle behind the toilet nobody mentions. They sit there, pressing into the grain while you sleep. By the time you notice the dark bloom creeping toward the baseboard, the damage has already travelled deeper than any rag can reach.
South African summers worsen the situation, humidity keeping the water alive inside the timber long after the surface looks dry. A wooden floor on bathroom tolerates a lot. It cannot tolerate being ignored.
Refinishing and Re-Sealing Schedules
Refinishing is the act of admitting the floor has lived. For a wooden floor on bathroom surfaces, the admission often comes too late. The sealant fails invisibly, shedding its protection in microscopic layers long before water stains surface.
South African humidity compresses the timeline. A schedule that makes sense in a dry climate is fantasy in Johannesburg or Durban. Re-sealing a wooden floor on bathroom should happen every two to three years, depending on traffic and coating quality. Refinishing, the deeper operation, belongs in five to seven year cycles.
The sanding dust carries the residue of every spill and every summer.
Preventing Mold and Mildew
Mold does not announce itself. It grows quietly in the gap between the sealant and the wood grain. By the time you notice the musty smell or the dark speckling beneath the surface, the wooden floor on bathroom has already surrendered its integrity.
I have seen this in homes where the ventilation was flawless. The culprit was stagnation. A forgotten corner behind the toilet. A mat that never dried.
- Check the perimeter of the wooden floor on bathroom monthly, especially near the toilet base and shower threshold.
- Lift bath mats weekly to allow trapped moisture to escape.
- Wipe down the wall-floor junction after every shower.
These actions interrupt the cycle before spores establish a colony. Bleach kills surface mold, but it does not reach the fungal network rooted in the wood. Prevention, not treatment, is the only reliable defence.
Repairing Scratches and Dents
A single deep scratch can expose the wooden floor on bathroom to moisture. Repair it immediately! Left unattended, the gouge absorbs humidity during every shower. I have seen this outcome in coastal homes.
First identify the scratch depth. A shallow scratch needs a matching wax filler and a fresh coat of finish. A deeper dent demands a different approach: place a damp cloth over the damaged area and glide a warm iron across it. The steam swells the compressed wood fibres.
- Let the dent dry fully before filling.
- Apply tinted filler.
- Seal with polyurethane.
Repairs on the wooden floor on bathroom succeed when the floor is dry. Check the humidity, especially in KwaZulu-Natal or the highveld during summer storms. The repaired area will show a subdued mark, and that mark remains.
When to Consider Replacing
Maintenance rewards those who observe. In KwaZulu-Natal, the humidity climbs without warning. Check the floor’s surface monthly, running a hand over the boards to feel for raised grain or sticky patches. Small changes signal larger problems.
When the finish dulls permanently and water no longer beads on the surface, the protective layer has failed. Consider replacement when boards cup, when dark stains reappear after sanding, or when a persistent musty odour survives every cleaning.
- Measure moisture content with a pin meter during summer storms
- Test the subfloor before installing new planks
Replacement becomes necessary when the wooden floor on bathroom has outlived its structure. A soft spot underfoot means the underlayment is compromised. Let the old floor go, and lay a fresh foundation.

0 Comments