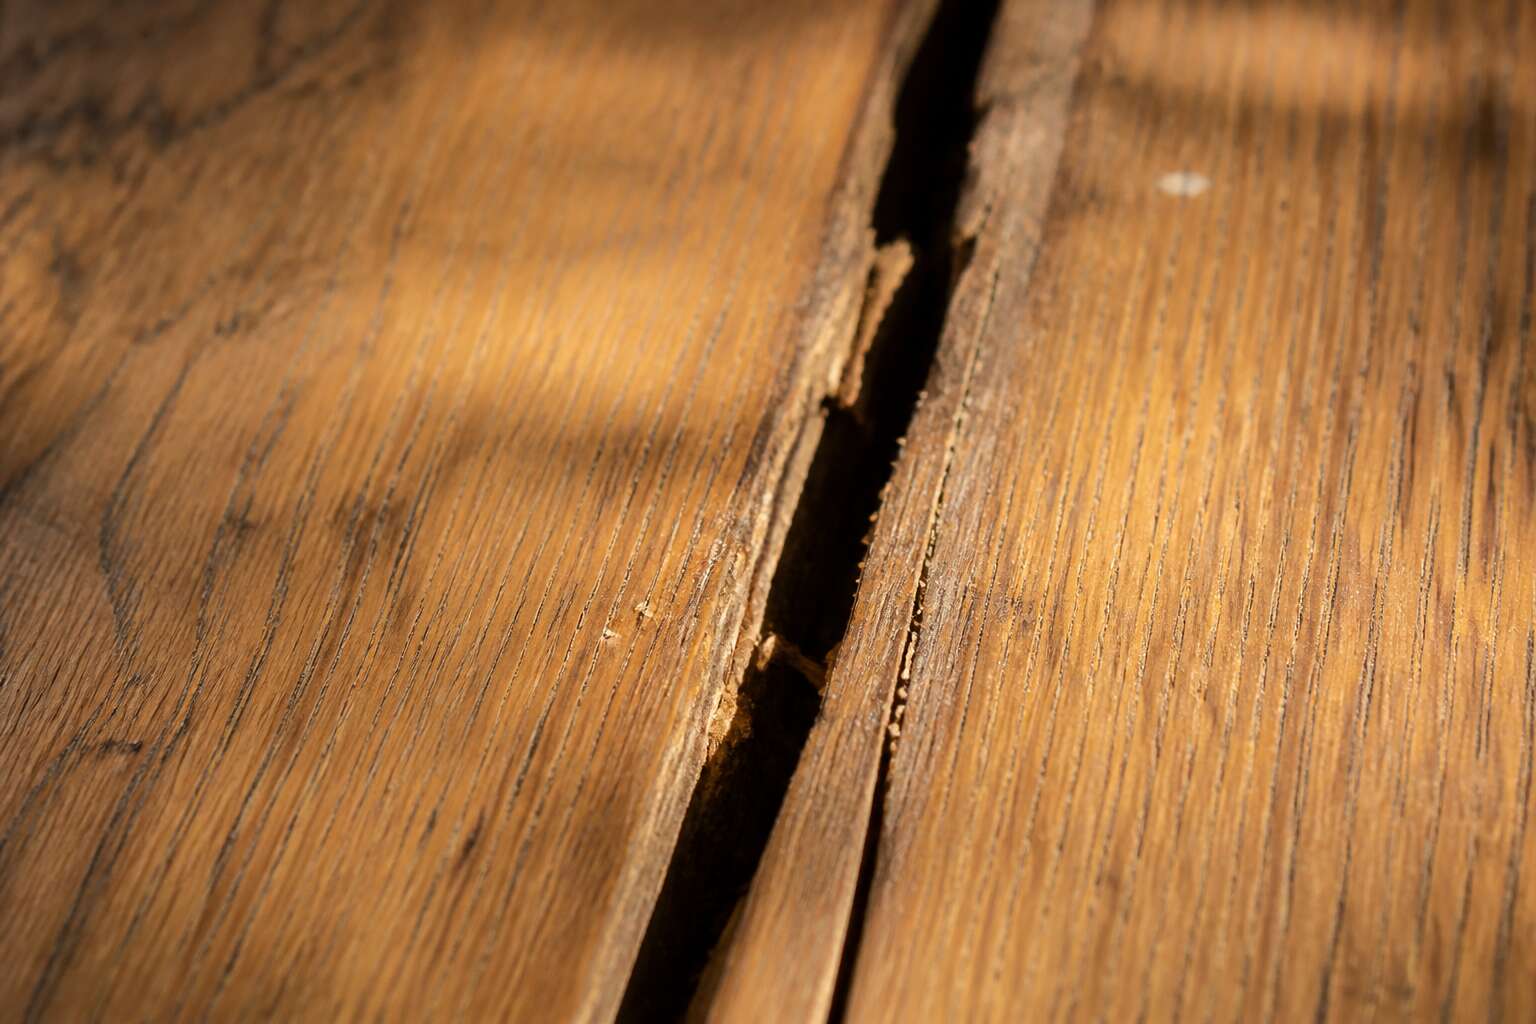
Root Causes of Gaps in Wood Flooring
How Humidity and Moisture Imbalance Widen Floorboards
In South Africa’s coastal provinces, relative humidity frequently swings by 40 percentage points between winter and summer. That movement is enough to change a wooden floor gap from a faint hairline into a visible split. The cause is not poor workmanship. Wood is hygroscopic, constantly pulling moisture from the air or releasing it. When humidity climbs, each board expands and presses against its neighbours. When the air turns dry, boards contract and pull away, leaving room between them.
We often see moisture imbalance starting from the ground up. Concrete slabs that have not cured properly, or that lack an effective vapour barrier, release water upward into the timber. This makes the bottom of each plank swell while the top stays dry. The result is cupping and a wooden floor gap that widens unevenly, more noticeable at one edge than the other. In coastal regions like Durban, this process accelerates, because high ambient humidity keeps the wood near saturation point most of the year.
The Role of Seasonal Temperature Changes
While Durban’s floors struggle with ambient moisture, the highveld presents a different burden. Winter nights in an unheated Johannesburg home fall below ten degrees, and the timber answers. The wooden floor gap that sat nearly invisible in March reappears, a clean separation between planks that were flush weeks earlier.
Temperature itself drives the movement. Wood contracts under cold and expands under heat, and the diurnal swing in inland South Africa can shift a 4-metre run of flooring by several millimetres. The change is gradual, until one morning a board has clearly pulled away from its neighbour.
- Morning sun warms the eastern end of a room while the western edge stays cold.
- The differential opens the gap wider on the recessed side.
I have watched this same separation appear in highveld homes, year after year. The floor is not failing. It is responding to the thermal load of the house. The wooden floor gap is a measurement of the cold that the home held through the season.
Installation Mistakes That Leave Excessive Clearance
Installation mistakes cause more wooden floor gap problems than climate alone. A contractor who skips acclimatisation or forces boards into place with narrow spacing creates a floor that cannot move freely. Gaps appear months later.
Common installation faults leave excessive clearance:
- Fitting boards stored in a humid garage or warehouse
- Nailing too close to the board ends, splitting the wood and widening the seam later
- Levelling a subfloor with a compound that dries at a different rate from the flooring
All three are avoidable, yet they show up every spring! I have seen floors where the installer left a 10-millimetre expansion gap at one wall and nothing at the opposite side. The boards crept, and the wooden floor gap became uneven across the room. A second floor in the same house, fitted by a different crew, stayed tight for five years. The difference was patience and attention to the room’s actual dimensions.
Effects of Wood Aging and Wear
After two decades of daily use, the wood itself loses resiliency. The natural oils that kept the fibres pliable evaporate, and the cells become brittle. In Johannesburg homes with high traffic, this wear compounds with UV exposure, which breaks down the surface layer and leaves boards more susceptible to micro-movement.
The tongue and groove joints grind together year after year. Friction removes material, so each board loosens its grip on the neighbour. The result is a wooden floor gap in rooms where humidity never fluctuates. I have inspected floors from Durban’s humid coast and the dry Highveld. The aged boards all show the same pattern. They lose their dimensional stability.
How to Inspect and Measure Floor Gaps Safely
Essential Tools for Accurate Measurement
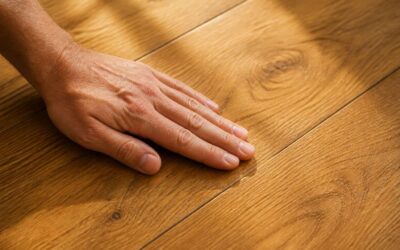
Before you pick up any tool, run your hand along the boards. The eye misses what the fingertips notice. A wooden floor gap that looks uniform from a distance often hides subtle variations, and those variations change how you measure.
For accurate readings, use a metal feeler gauge or a digital calliper. A tape measure bows and flexes, giving you a false sense of certainty. Work in the cool of the morning, when the wood rests at its most stable state. I usually measure before the Highveld sun warms the floorboards.
Essential tools to have on hand:
- Metal feeler gauge
- Digital calliper
- Spirit level
- Notepad and pencil
Measure at the widest point and the narrowest point of each gap. Repeat the process in three places along the same board. You are not looking for an average; you are looking for extremes, because extremes reveal whether the wooden floor gap is seasonal or structural.
Different Types of Gap Patterns and What They Indicate
Kneel and hold a torch low against the floor. The angled beam exposes what standing inspection misses. A wooden floor gap with straight, even edges typically reflects seasonal movement. Ragged or crumbling edges point to moisture damage or timber decay. Use a blunt needle to test the gap depth. Deep gaps with soft edges indicate deeper board damage.
Gap patterns follow distinct forms. A uniform gap along every board suggests installation error. A gap that widens near outer walls indicates humidity exposure. A gap that appears only in the centre of a room suggests uneven drying.
- Check whether the gap follows the grain or cuts across it.
- Look for discolouration along the gap edges.
- Run a spirit level across the gap to detect lipping.
Step-by-Step Guide to Measuring Gap Width
A wooden floor gap reveals its true width only through direct measurement. Most homeowners overestimate the gap by a full millimetre when they judge it from standing height. Kneel first, then probe!
Inspect the edges before you touch anything. Run a gloved finger along the length. I have seen a sharp splinter or a protruding nail change how someone approaches the work. Wear safety glasses if the timber is brittle.
For a safe and accurate reading, follow a fixed sequence:
1. Choose the widest visible point along the gap.
2. Insert a feeler gauge or a tapered wedge until it meets resistance.
3. Read the marking at the surface of the board.
4. Repeat at three separate points along the same run.
5. Record the largest value, not the average.
Readings taken from a single spot mislead you. A wooden floor gap narrows and widens across its length, so a multi-point check gives you a reliable baseline.
Distinguishing Cosmetic Gaps from Structural Damage
I once inspected a Johannesburg home where a 6mm gap looked benign at eye level, yet a simple push test revealed a loose subfloor beneath. Before you measure, you must distinguish a cosmetic wooden floor gap from structural damage. A gap that closes when you press the adjacent board signals normal seasonal movement. One that stays rigid under pressure demands attention!
Look for these warning signs:
- The gap follows a curved or diagonal line instead of a straight board edge
- Light filters through from the room below
- Boards feel springy or shift underfoot
- Cracks radiate from the tongue or groove joints
Structural issues seldom appear in isolation. Squeaks, uneven transitions, and a soft give under weight usually accompany a failing substructure. Cosmetic gaps remain uniform and shallow, with no movement when probed. Wearing gloves and safety glasses is non-negotiable, especially with brittle timber in older Cape Town homes.
When to Call a Professional for Assessment
Most homeowners discover a wooden floor gap the moment their sock catches on it. Safe inspection starts with protective gear. I always wear gloves and safety glasses before probing, since older Johannesburg timber can splinter without warning. Use a feeler gauge rather than bare fingers to test whether boards yield under gentle pressure.
The inspection sequence matters:
- Press firmly beside the gap to detect springiness
- Shine a torch along the seam to spot light filtering through
- Walk slowly across the zone, noting any give underfoot
When a gap resists pressure or traces a curved line, professional assessment becomes necessary. A structural engineer or flooring specialist will evaluate the subfloor and joists without risking further damage.
Effective Repair and Filling Methods for Gaps
Using Wood Fillers and Putty for Small Gaps
Small gaps rarely demand the dramatic intervention of full board replacement. For a wooden floor gap under three millimetres wide, quality wood filler or flexible putty offers a remarkably simple fix! Matching the filler’s colour to the surrounding timber makes or breaks the repair, so test on a discreet corner first.
I have found that acrylic-based fillers perform admirably in stable interiors, while latex putties tolerate slight movement better. Both require clean, debris-free gaps before application. Press the filler firmly into the void with a flexible spreader, then scrape away the excess while still soft.
A slightly recessed repair sands flush more gracefully than a raised mound. Once cured, a fine-grit sanding pass blends the patch into the surrounding grain.
Foam and Rope Insert Options for Larger Openings
When a wooden floor gap widens beyond a centimetre, filler simply falls through. I have used two reliable methods for larger openings: expanding foam and backer rod rope. Both require patience. Foam expands as it cures, so apply it in thin layers. Too much and you will be sanding foam for hours. Rope, made from closed cell polyethylene, compresses into the gap with a blunt chisel. It handles movement better than foam in older floors. Consider the tradeoffs:
- Foam fills irregular depths easily but can crush under heavy foot traffic.
- Rope stays flexible but needs a uniform gap shape.
For a gap over fifteen millimetres, rope is my preferred choice. It does not fight seasonal shifts. Foam suits gaps that are deep but narrow. Whichever you choose, leave the surface recessed by a few millimetres. This allows a later wood filler top layer to grip. That final detail matters. A wooden floor gap repaired this way stays quiet and level for years.
How to Accustom and Replace Individual Boards
Some wooden floor gaps defeat every filler, every foam, every rope. The board itself has failed. I cut along the groove with a sharp chisel, pry the damaged length free, and face the hollow that remains. Replacement demands patience. New wood must accustom itself to your home’s particular air before it settles beside its elders. In South Africa’s coastal humidity or Highveld dryness, this acclimation period determines whether the new board swells or shrinks against its neighbours. I have watched homeowners rush this step, and the wooden floor gap returns within a season. The carpenter’s ritual is unglamorous but essential:
- The replacement plank rests in the room for a full week.
- It is measured against the opening twice, never once.
- The tongue is trimmed, the underside shaved, the edges eased.
Only then does the new board earn its place. The floor remembers every careless repair, and it will speak when you least expect it.
Refinishing and Sanding to Even Out the Surface
When a wooden floor gap persists despite every patch, sanding offers a chance to level the entire surface. The rotating drum strips away the old finish and uneven wear, exposing a flat plane where the gap no longer catches the light. I have watched a worn floor transform under a fine grit, the edges of each board merging into a uniform surface.
This approach demands patience. You must work with the grain, never against it, and keep the sander moving to avoid gouging the softer timber. A successful refinish makes the wooden floor gap less noticeable.
- 36 grit for stripping the old coating
- 80 grit for smoothing the surface
- 120 grit for the final pass before sealing
The sealant locks the dust and the finish into place.
Long-Term Solutions for Recurring Gaps
In South Africa, a wooden floor gap can widen by 3 millimetres in a single week of rainy season. Rigid fillers crack under that movement. A flexible polyurethane compound absorbs it, but only if you clean the gap thoroughly first. For voids wider than 6mm, insert a backer rod before applying the filler. The rod reduces the material volume, preventing shrink and crumble.
Rope and putty have their place, yet they fail when moisture levels swing. The long term fix lies in the subfloor. Screws that have worked loose cause boards to shift, reopening the gap. Tightening them stabilises the timber. Then choose a filler rated for exterior use, as it handles temperature swings better.
- Polyurethane filler for gaps up to 5mm
- Backer rod plus sealant for gaps over 6mm
- Wooden shim with adhesive for structural support
This keeps the wooden floor gap sealed through seasonal changes.
Choosing the Right Material Based on Gap Width
Under Cape Town’s humidity, a wooden floor gap changes shape overnight. The correct repair material depends on measuring that movement first. For gaps under 3mm, a latex-based filler flexes enough. From 3mm to 6mm, a polyurethane sealant bonds without cracking. Wider openings demand a different approach.
- Under 3mm: flexible latex filler
- 3 to 6mm: polyurethane sealant
- Over 6mm: epoxy with a backer rod
The material must match the gap’s behaviour as well as its size. A rigid compound will fail when the board expands and contracts. I have seen homeowners use wood glue for a wooden floor gap, only to watch it fracture within a week.
Preventive Strategies to Minimize Floor Gaps
Maintaining Optimal Indoor Humidity Levels
In South Africa’s varying climate, a single percentage point shift in indoor relative humidity can alter board width by fractions of a millimetre, yet over a season this compounds into visible separation. Maintaining optimal indoor humidity levels requires deliberate attention to air moisture, not passive hope! Hygrometers placed in multiple rooms give accurate readings, since conditions differ between coastal and highveld regions.
Controlling moisture flux involves several consistent measures:
- Using extractor fans in kitchens and bathrooms during peak use
- Sealing concrete subfloors before installation to block rising damp
- Closing windows during humid summer thunderstorms
These practices directly reduce the stress that leads to a wooden floor gap. In Johannesburg’s dry winters, humidifiers prevent excessive shrinkage, while Durban’s humidity demands ventilation systems that cycle air without creating damp pockets.
Proper Acclimation and Installation Techniques
Acclimation is where most floor gap problems begin, long before the first plank is nailed down. Timber must rest in the exact room where it will be laid, absorbing the ambient moisture of that specific space. In Cape Town, that means two weeks of patience. In Gauteng’s dry winters, the same timber may need more time.
Installation demands precision with expansion clearance. Each board needs room to move within the specific climate of the room. Screeds must be level; a deviation of three millimetres creates uneven stress that later shows as a wooden floor gap.
The fastening method matters too! Floating floors require underlayment that accommodates movement, while glued installations need adhesives rated for the substrate. Before laying a single board, verify each variable:
- Moisture content of the timber
- Flatness of the subfloor
- Room temperature stability
Each forgotten check adds tension within the structure, and that tension eventually surfaces as a wooden floor gap.
Routine Care and Protection Against Moisture
Routine care is a home’s first defence against a wooden floor gap. In Cape Town’s coastal air, a simple weekly sweep removes the grit that gradually wears down the surface. The abrasive particles grind away finish and expose raw fibres, which then absorb moisture unevenly. That uneven absorption turns a tight seam into a wooden floor gap.
Protection against moisture demands vigilance! Spills must be wiped within minutes, especially in kitchens and entryways where weather is tracked inside. Maintain these habits:
- Use felt pads under furniture legs and mats at external doors
- Check sealant around skirting boards every season
A small investment in a hygrometer keeps indoor relative humidity between 45% and 55%. When the air shifts, the timber responds. Consistent moisture control prevents the slow creep of gaps before they start.

0 Comments